Three Useful Knots Every Diver Should Know, or Maybe Just One

A step-by-step guide to the stopper knot, loop knot and bending knot every diver should have in muscle memory, plus the one to learn if you only learn one.

Knots are useful when you spend a lot of time out at sea diving. Tied for the right purpose, a knot should still come undone easily even after strain has been applied to the line. But you can't learn a knot by watching once and expect to remember it later. I keep a 3m length of 3mm rope around the house and practice whenever I have a spare minute.
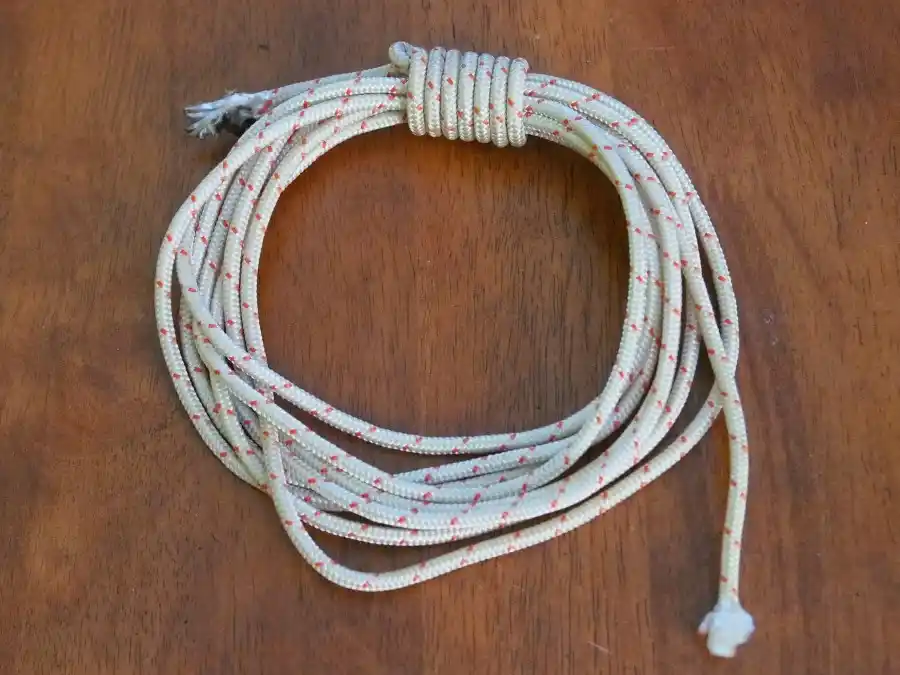
A coiled length of rope, ready for practice.

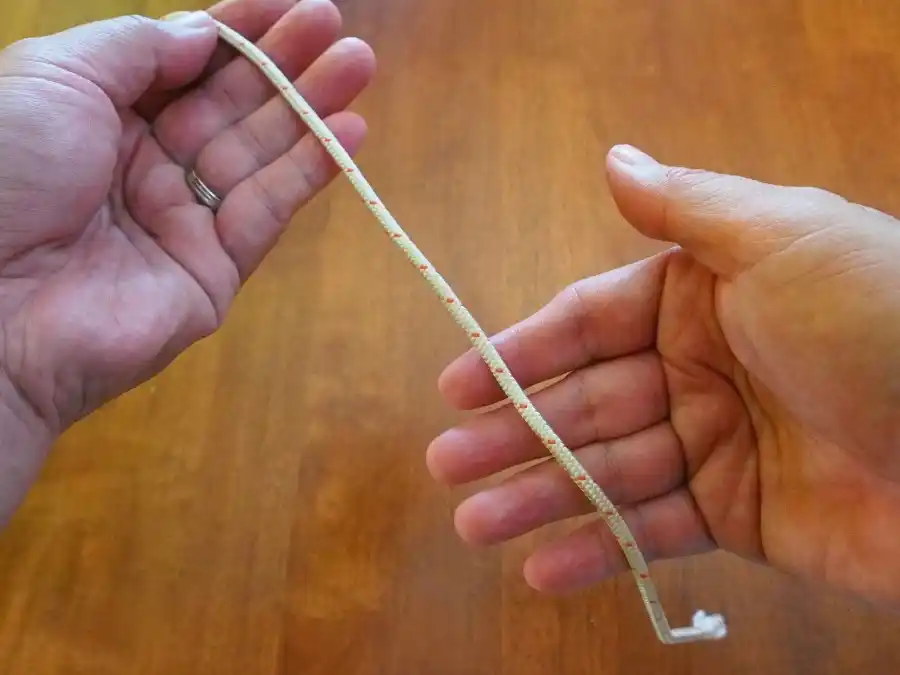
Before we get to the knots, let's cover the common terms for the parts of a line.
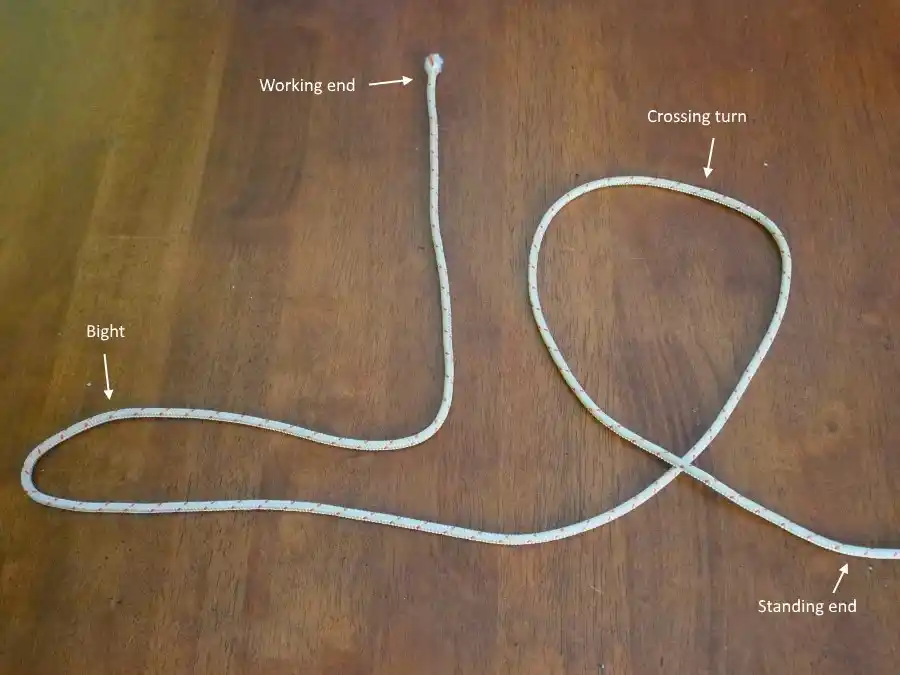
The parts of a line: working end, bight, crossing turn, and standing end.

Working end: the end you work on.

Bight: a curved section of the line.

Crossing turn: a line that overlaps itself, forming a loop.

Standing end: the other end of the line.

The three types of knots covered here are the stopper knot, loop knot and bending knot.

  1. The stopper knot is tied at the end of a line to stop it pulling through a hole, and can also add weight to the end to make it easier to throw. We'll use the Figure of Eight as a stopper knot.
  2. The loop knot makes a loop at the end of a line, useful for securing it to a ring, dive buoy, or anything else you need to hold onto. The Bowline is a popular loop knot.
  3. The bending knot temporarily joins two lines together. The Sheet Bend is an easy bending knot to learn.

Let's start.

Figure of Eight

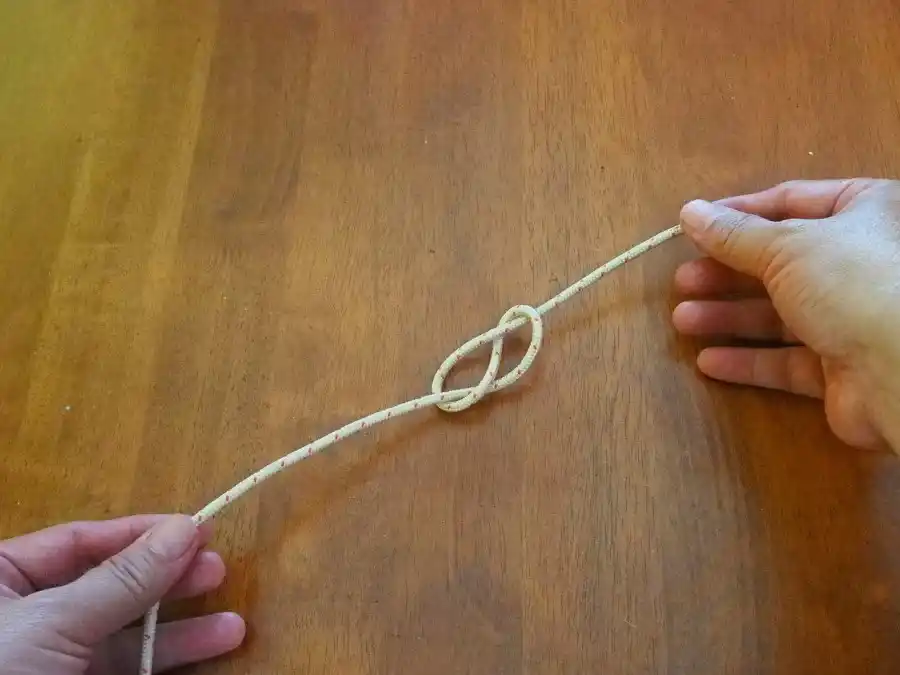
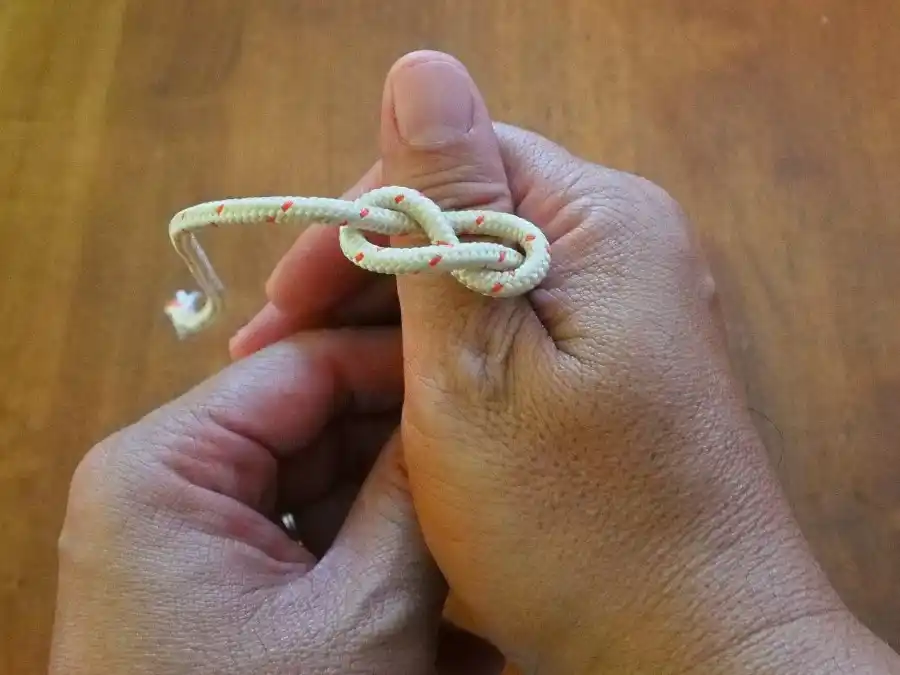
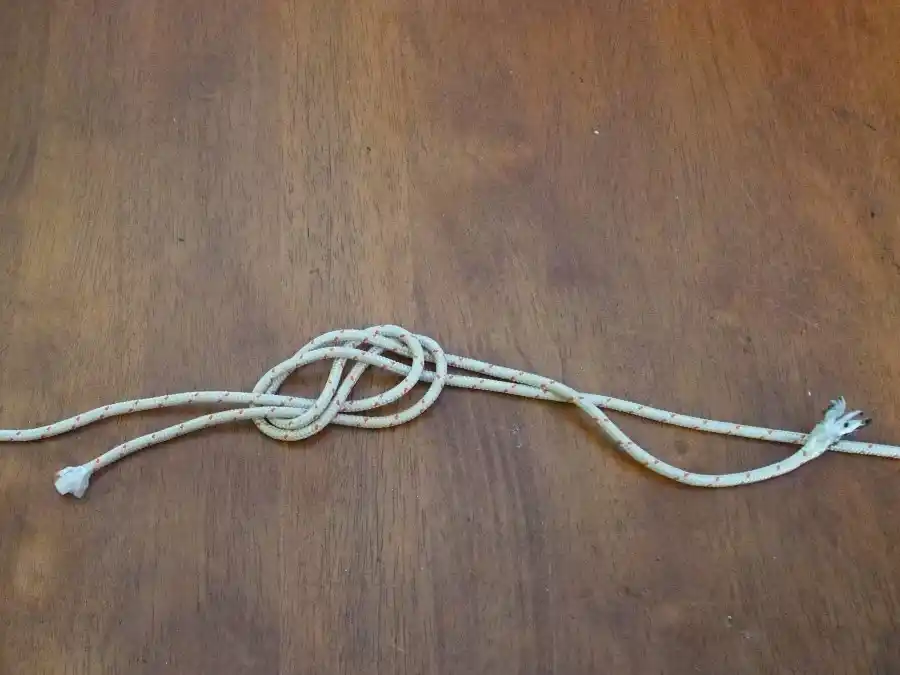
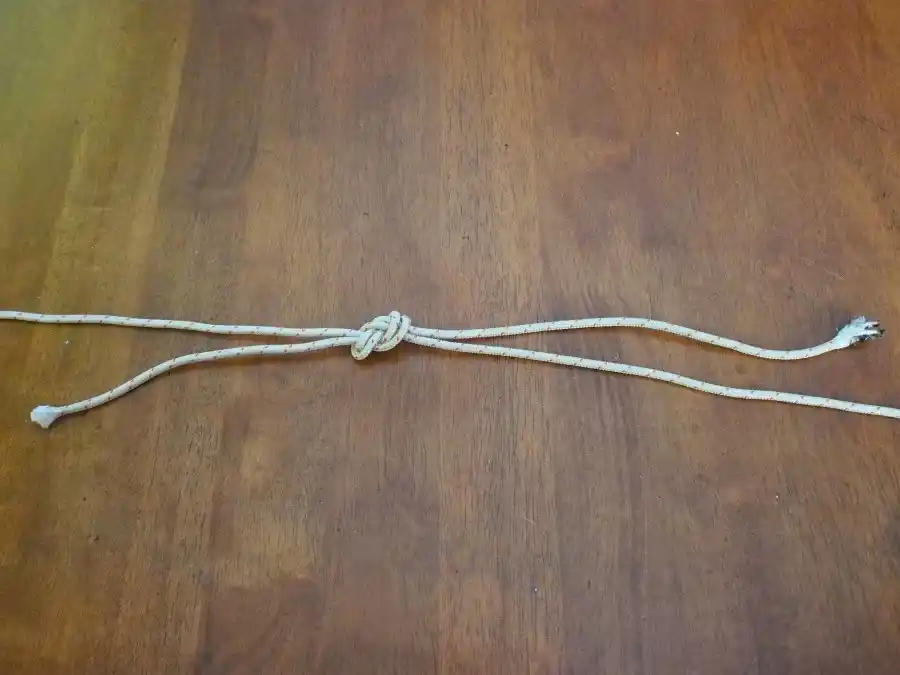
The Figure of Eight knot, used here as a stopper knot.
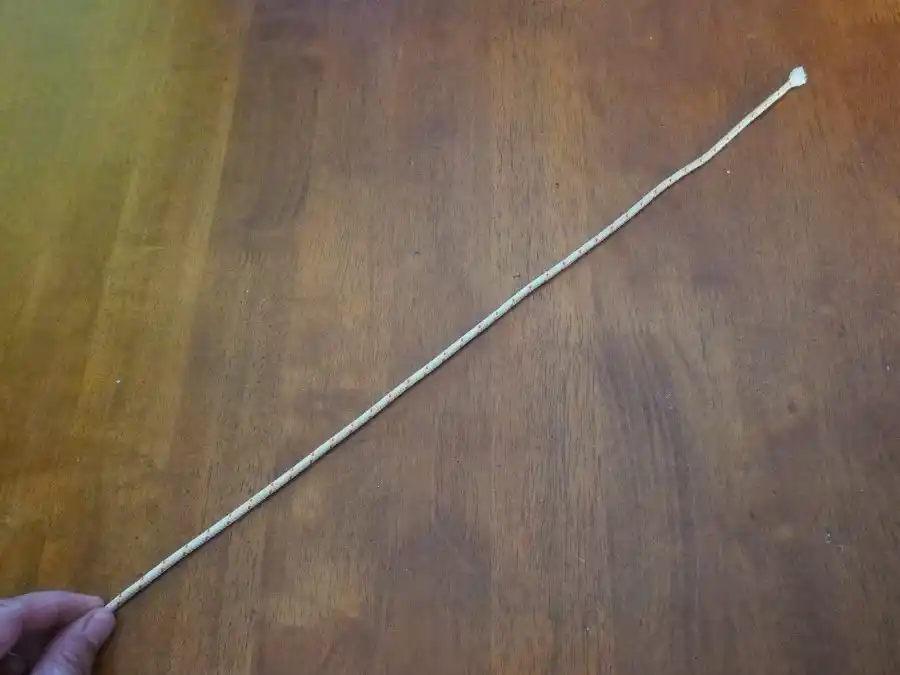
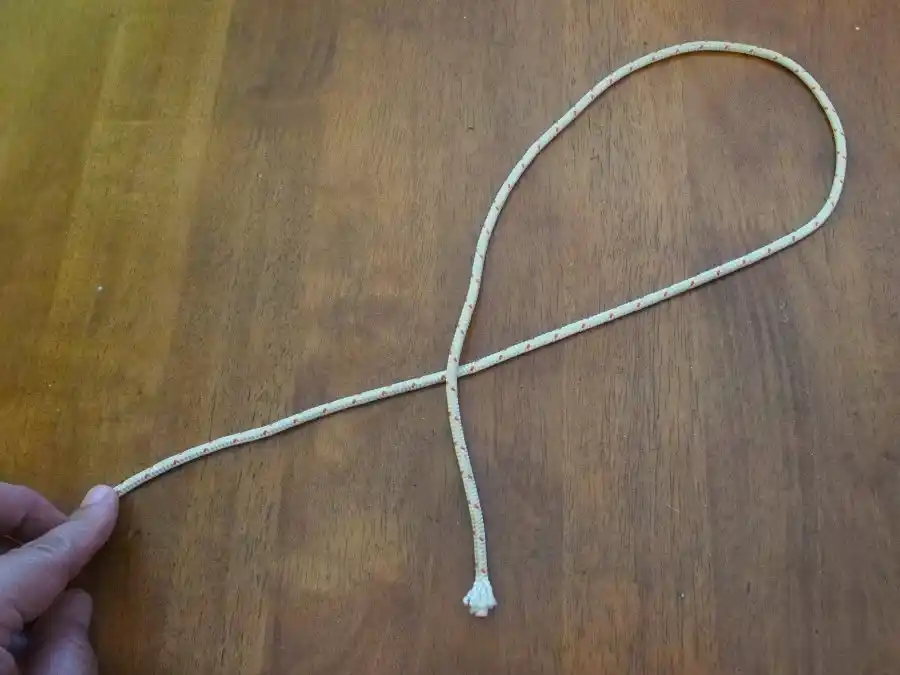
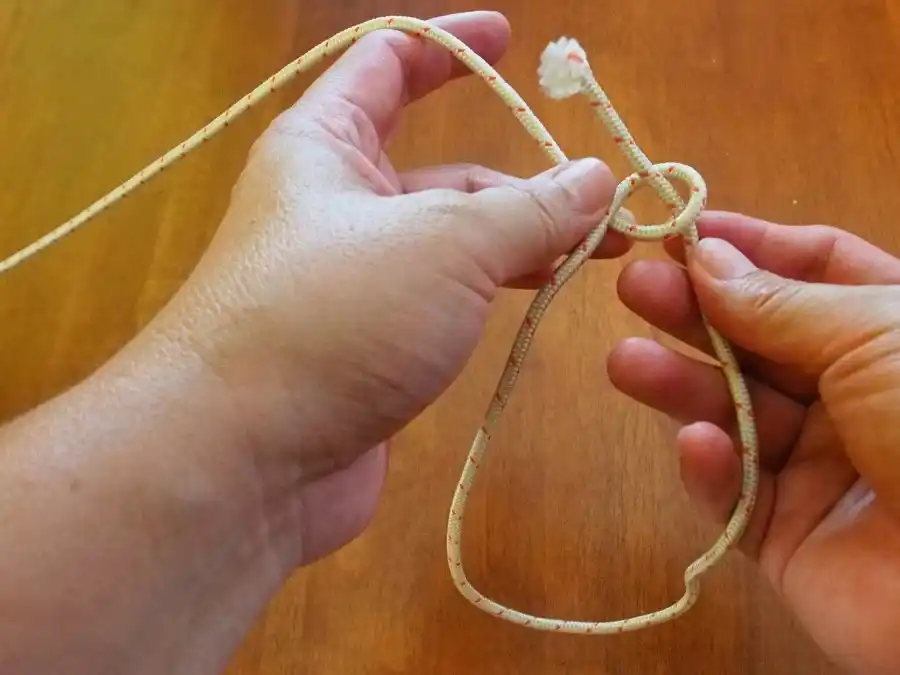
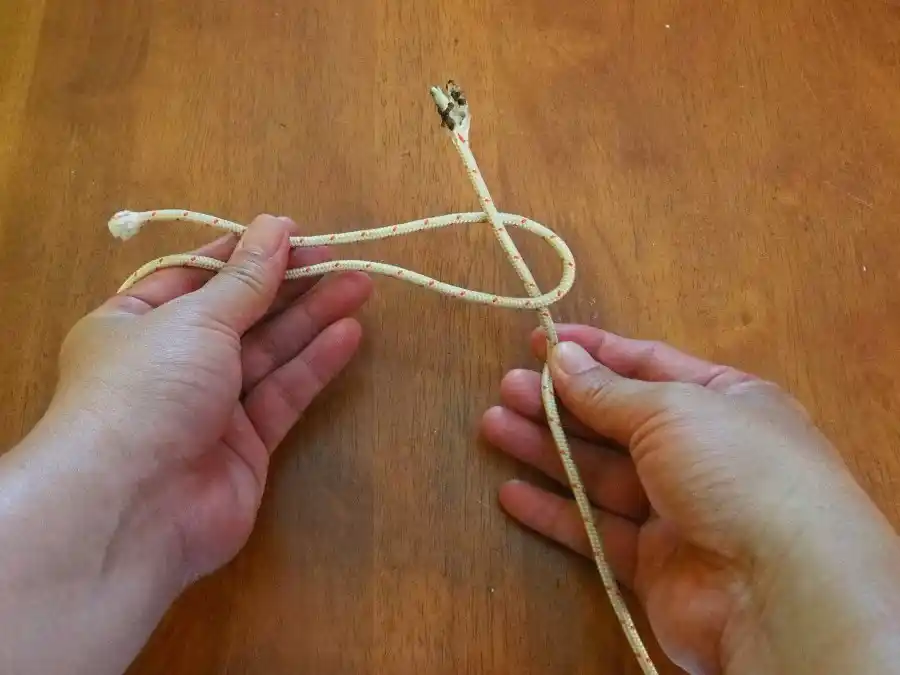
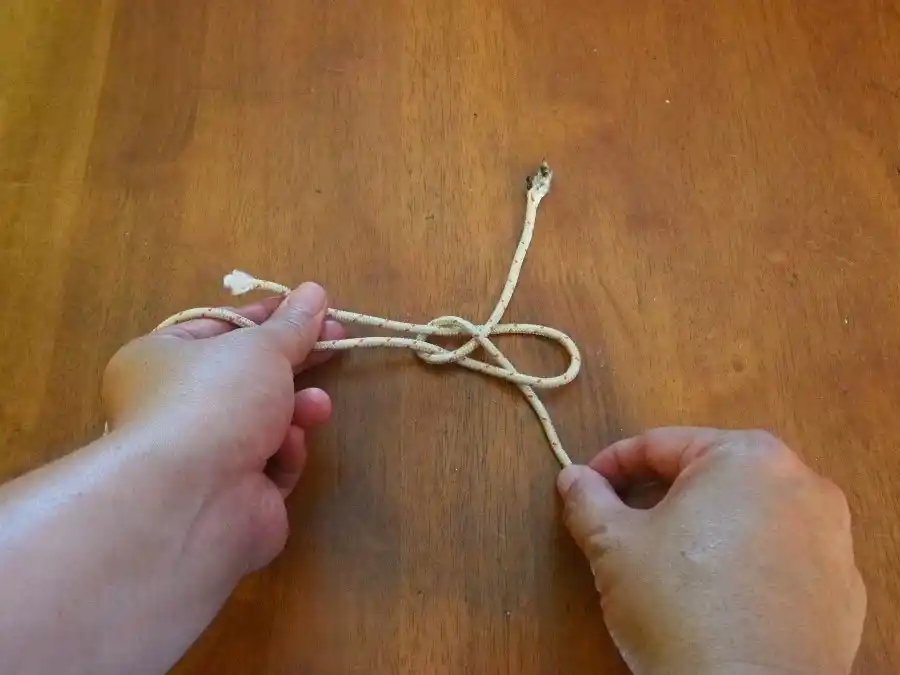
Figure of Eight knot, step 1: forming the first loop.
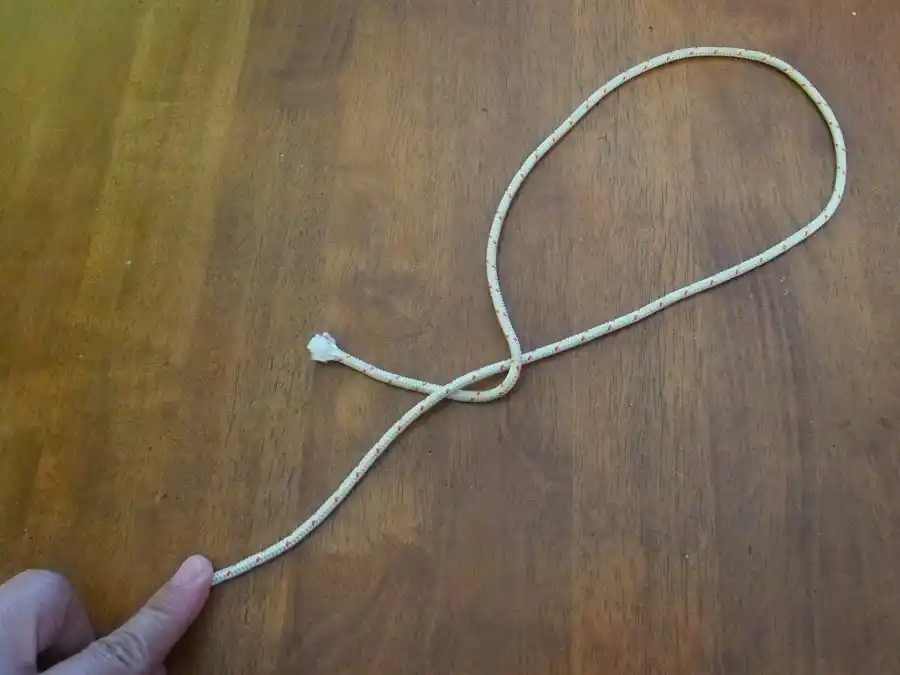
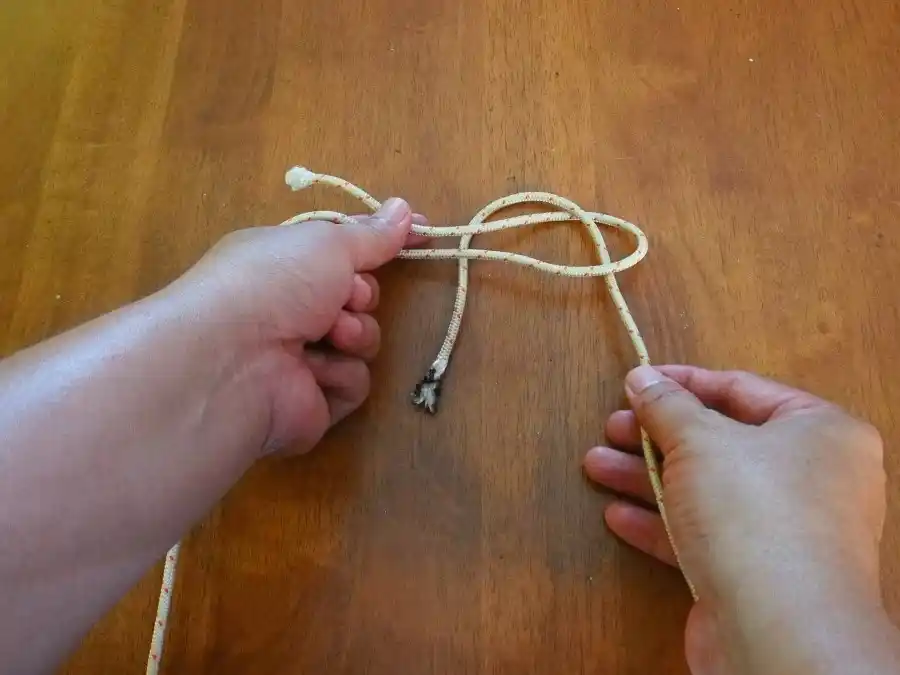
Figure of Eight knot, step 2: crossing the working end over.
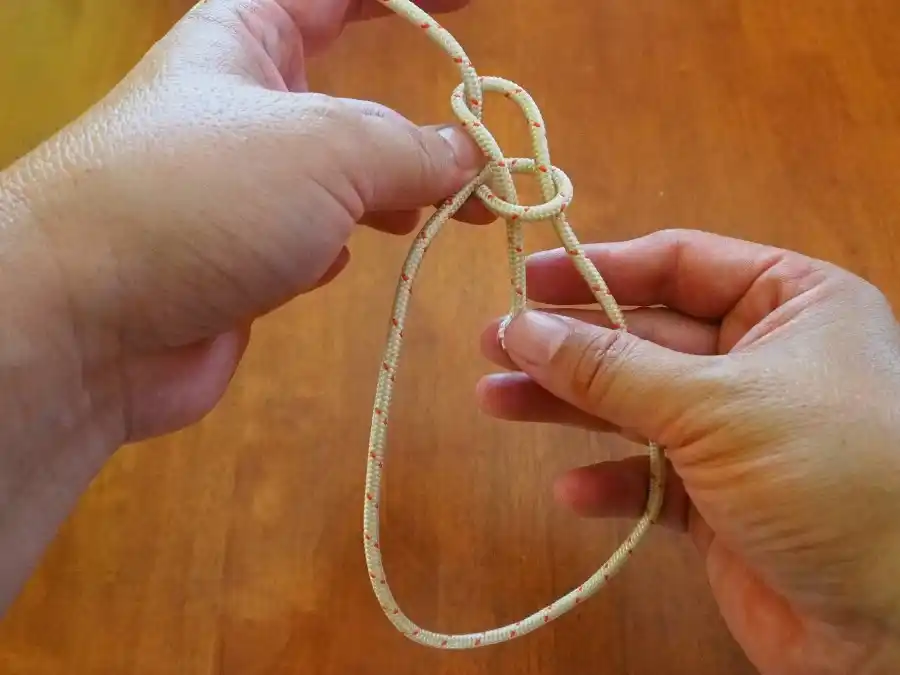
Figure of Eight knot, step 3: threading the working end behind the standing line.
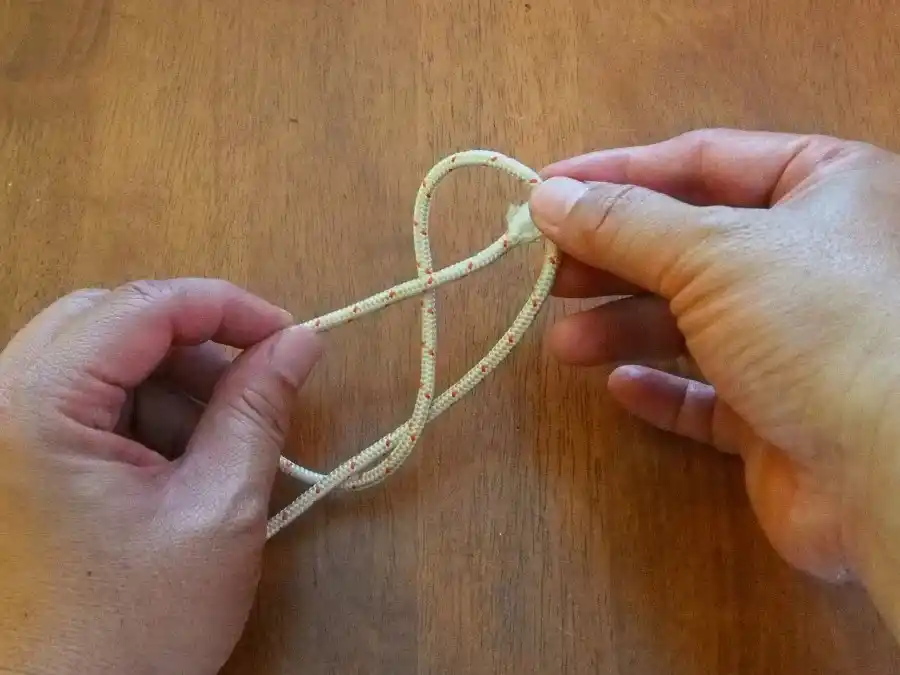
Figure of Eight knot, step 4: bringing the working end through the first loop.
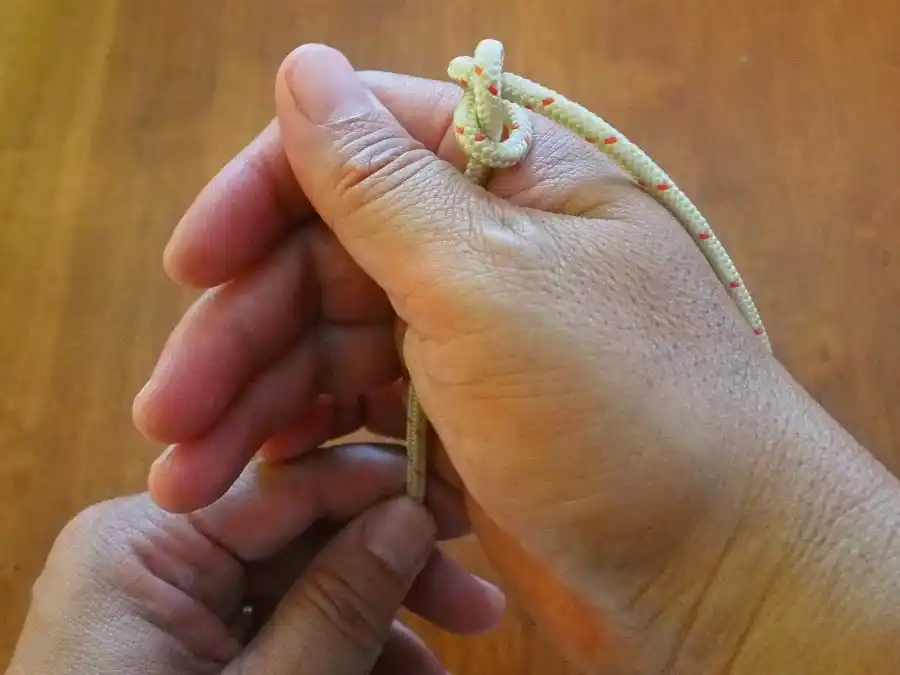
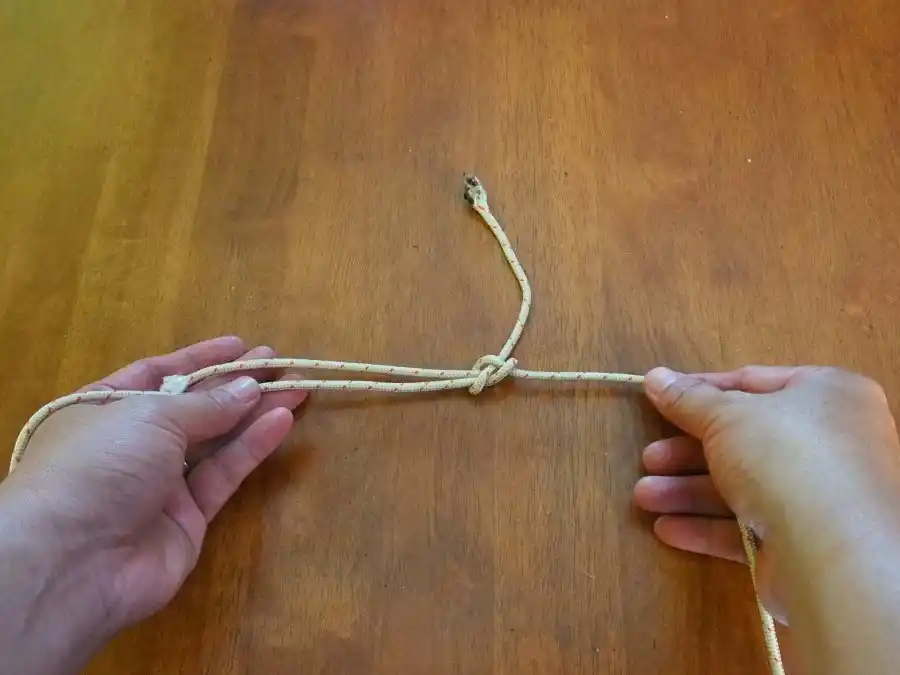
Figure of Eight knot, step 5: pulling the shape into place.
Figure of Eight knot, step 6: tightening the knot.
Figure of Eight knot, step 7: the finished stopper knot.

Bowline

The Bowline (pronounced boh-linn) is a loop knot that's been in use for centuries and is one of the first knots most people learn. It makes a loop at the end of a line, which you can then use to secure the line to a ring, dive buoy, or anything else you can hold onto.
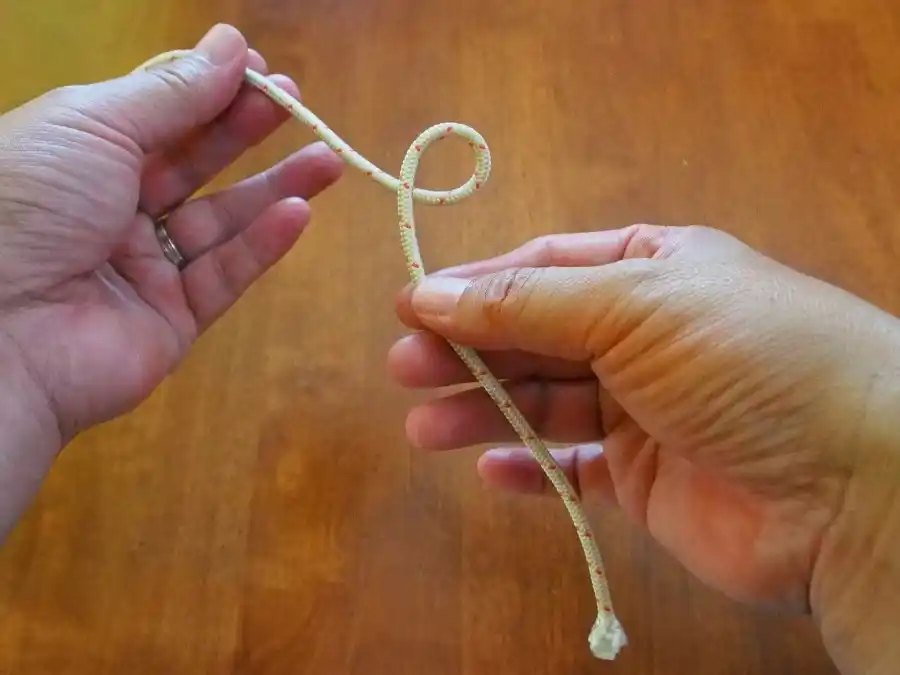
Bowline knot, step 1: forming a loop in the standing line.
Bowline knot, step 2: bringing the working end up through the loop.
Bowline knot, step 3: wrapping the working end around the standing line.
Bowline knot, step 4: threading the working end back through the loop.
Bowline knot, step 5: tightening the shape.
Bowline knot, step 6: the finished loop knot.

Sheet Bend

The Sheet Bend is a bending knot used for temporarily joining two lines together.
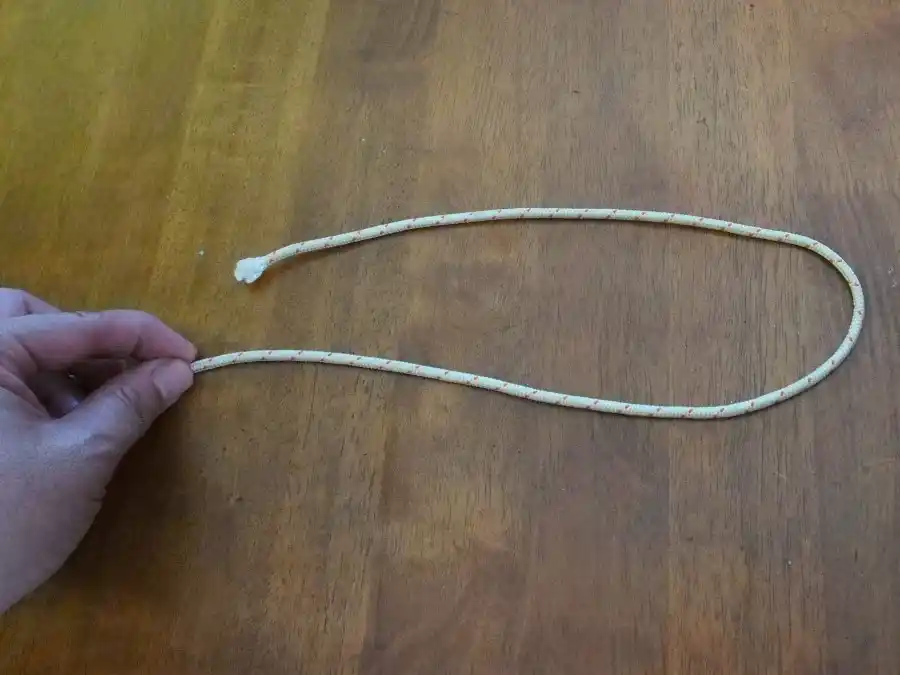
Sheet Bend, step 1: forming a bight in the first line.
Sheet Bend, step 2: passing the second line through the bight.
Sheet Bend, step 3: wrapping the second line around the bight.
Sheet Bend, step 4: tucking the working end under itself.
Sheet Bend, step 5: the finished bend joining both lines.

These three knots are worth practising until they become muscle memory. Tying knots is also oddly therapeutic, and good for killing time on a long boat ride.

If You Only Have Time for One Knot

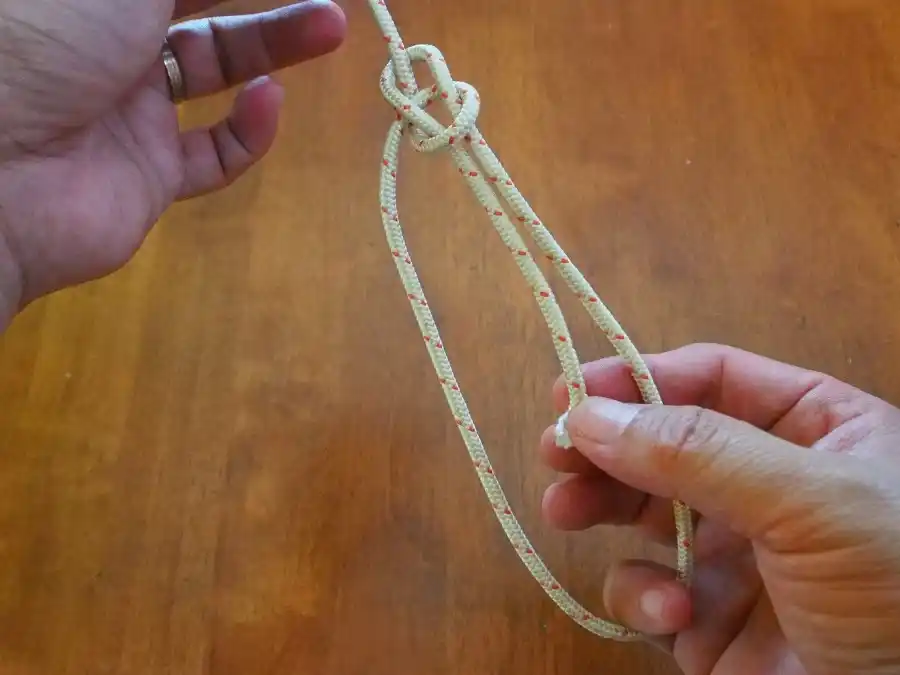
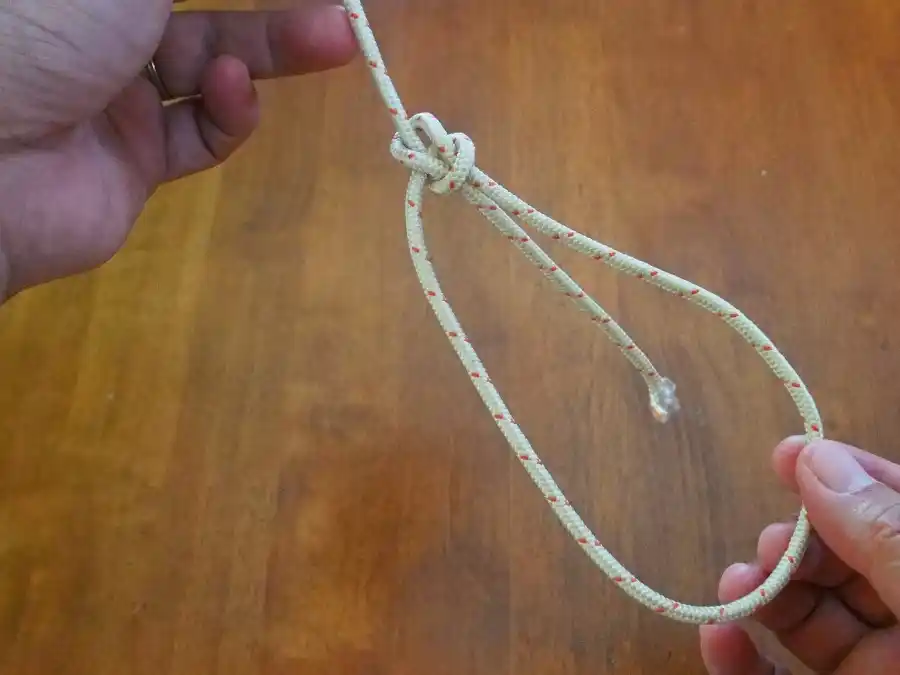
If you truly only have time for one knot, Gordon Perry, a well-known figure in the knotting community, recommends the Figure of Eight. You've already seen it as a stopper knot; here it is adapted as a loop and a bend.

Figure of Eight Loop Knot
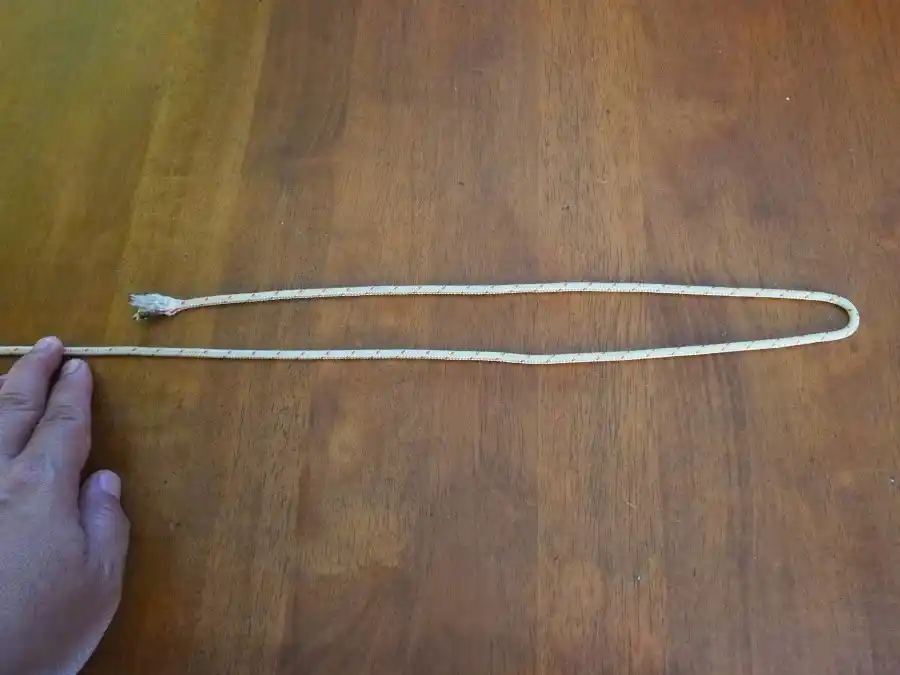
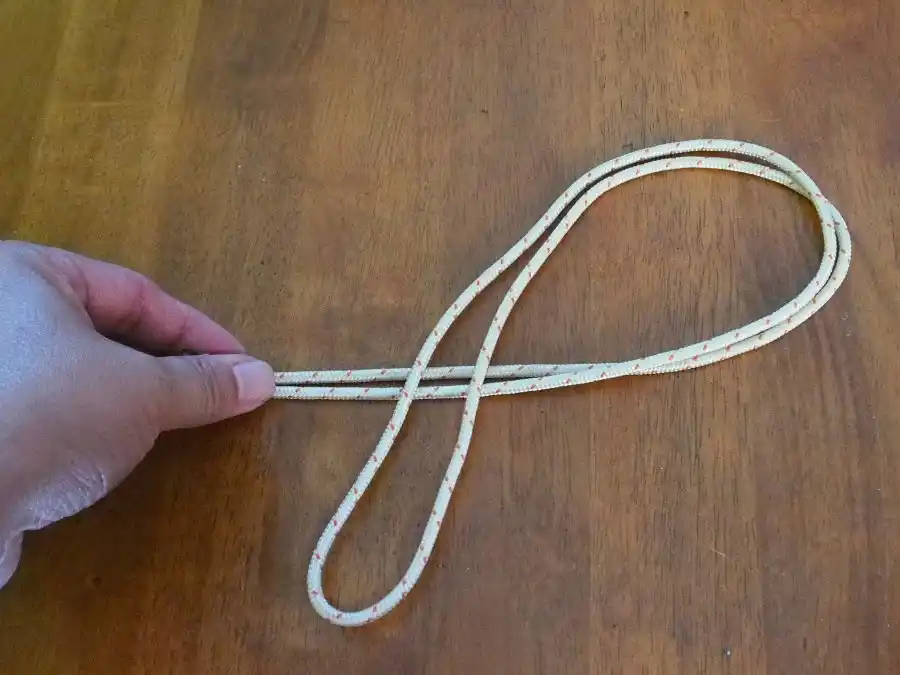
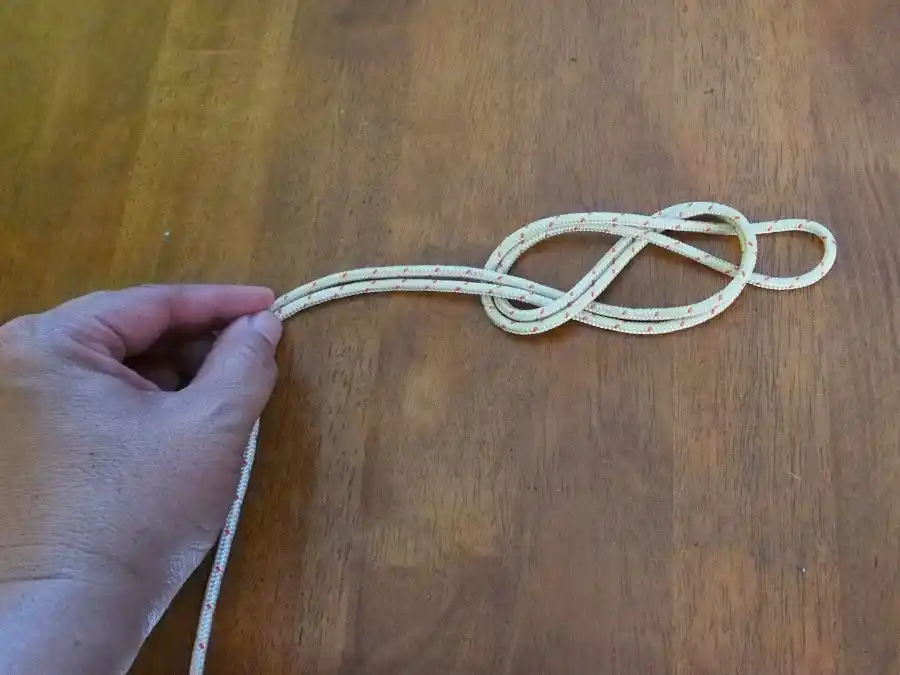
Figure of Eight loop, step 1: doubling the line.
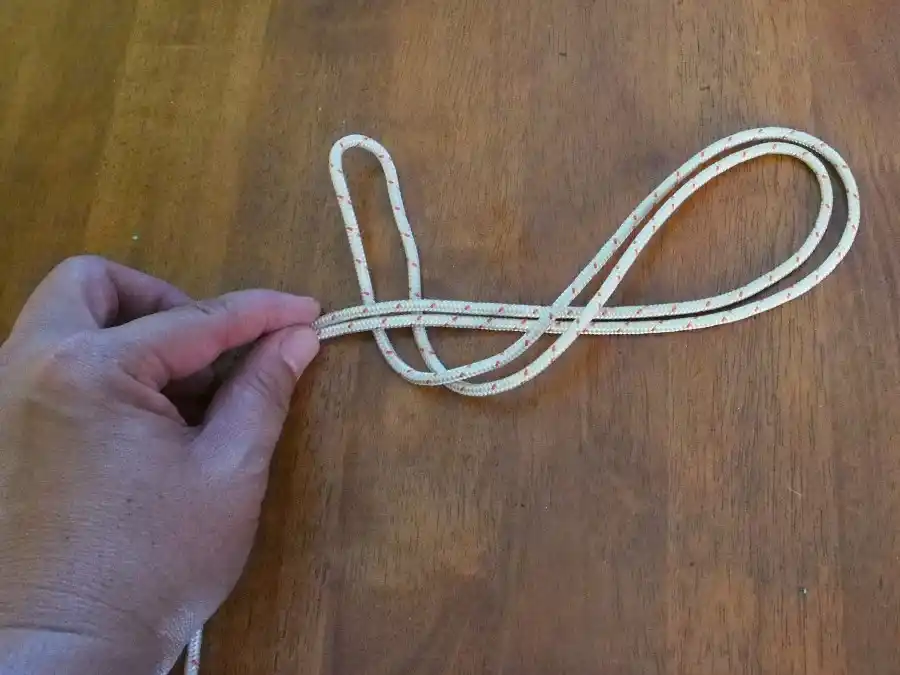
Figure of Eight loop, step 2: forming the figure-eight shape with the doubled line.
Figure of Eight loop, step 3: threading the doubled end through.
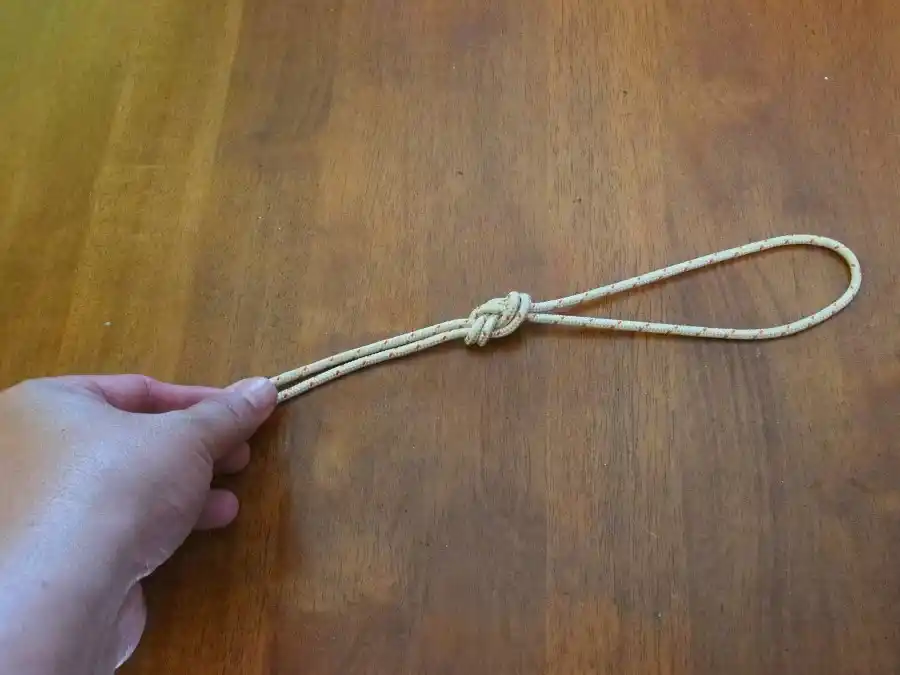
Figure of Eight loop, step 4: pulling the loop into shape.
Figure of Eight loop, step 5: the finished loop knot.

Figure of Eight Bending Knot

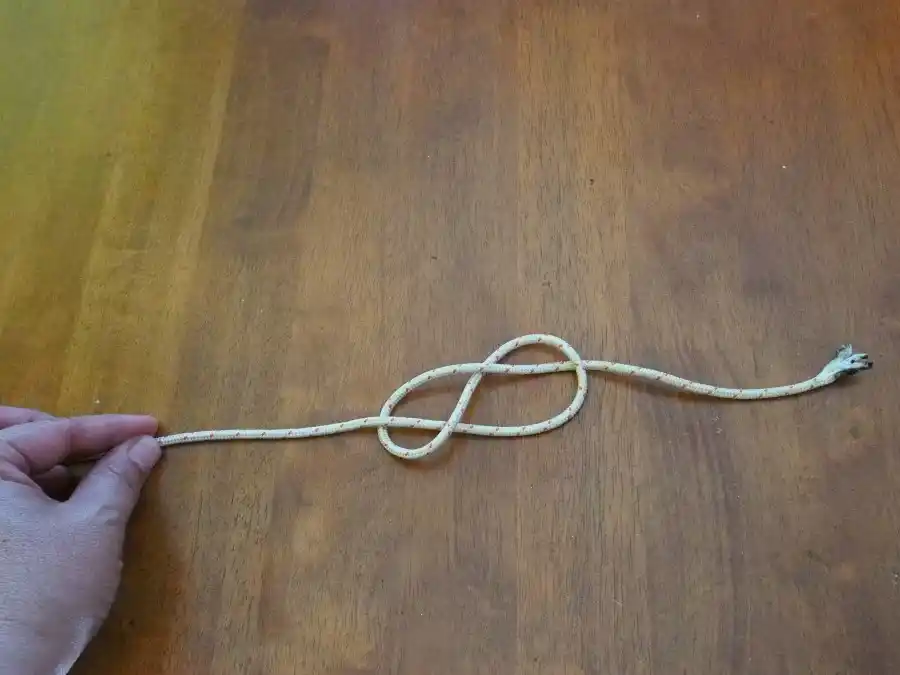
Figure of Eight bend, step 1: forming the figure-eight in the first line.
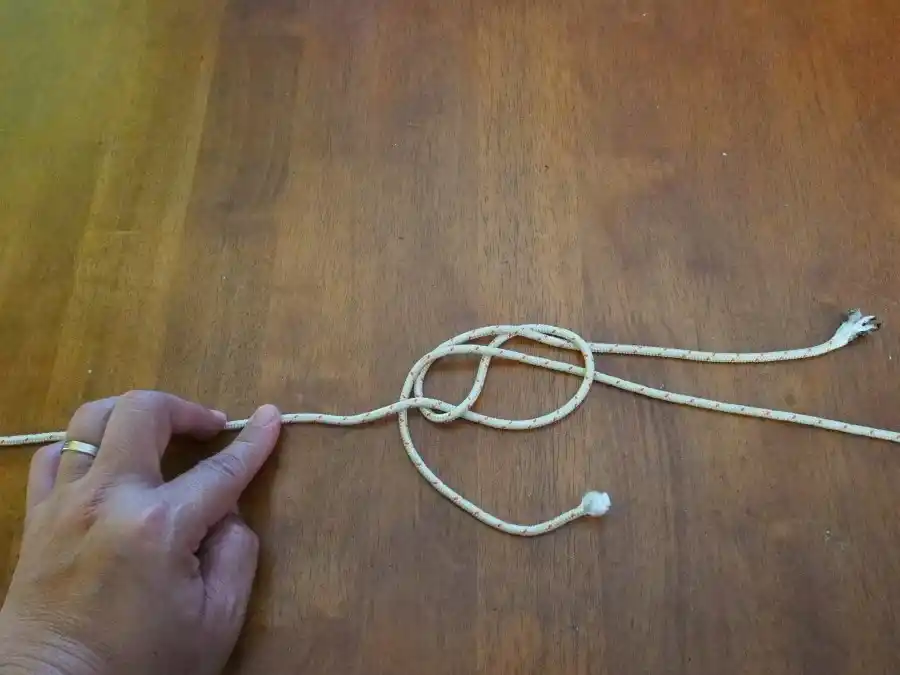
Figure of Eight bend, step 2: tracing the second line through the first.
Figure of Eight bend, step 3: following the shape all the way through.
Figure of Eight bend, step 4: the finished bend joining both lines.

If you'd like to go further, get a book on the subject. The first one I picked up was by Des Pawson, and I've since added a few more to the shelf, including one by Gordon Perry.

Note: as a diver, always carry a dive knife. This matters even more at a new dive destination or wherever you'll be handling ropes underwater.